Painting Garage Floors Step by Step
Our garage floor looked terrible. We decided that painting garage floors would be a fun life adventure. Painting is the process of applying a protective coating or sealant to a concrete garage floor. This is done to prevent moisture, oil, and other contaminants from damaging or staining the garage floor. The paint forms a barrier on the floor to protect it from wear and tear. The type of paint used on a garage floor can vary, from simple concrete paint to more a advanced epoxy coatings. The painting process typically involves cleaning the surface, allowing it to dry completely, and then applying the painting according to manufacturer instructions.
 A New Project
 Once our kitchen renovation was complete, we decided to tackle the garage floor. The garage floor was almost 50 years old. We didn’t know anything about cleaning and painting garage floors. So, we did some research and found that there were 3 main steps to painting garage floors.
– We thoroughly cleaned the floor
– The floor needed to be primed. 
– Paint needed to be applied
Our floor was a mess. We swept and power washed the floor several times. Despite all the work, it still looked terrible. Eventually , we were satisfied that it was clean enough to prime and paint.
Priming Before Painting Garage Floors
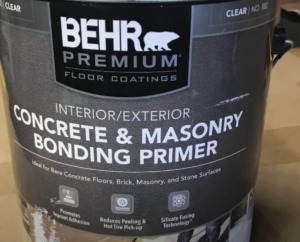
 There are several reasons to prime a concrete garage floor. Ultimately, we primed the floor so that the paint would bond better to the concrete.
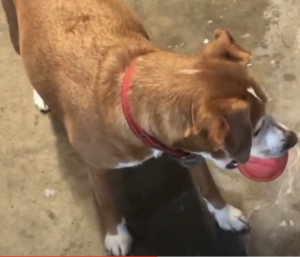
Our dog Sage, had a ball supervising the work.
We applied two coats of primer to the floor as soon as it was clean. Consequently, there was no dirt or dust to prevent the paint from bonding to the cement. The primer went on easily and dried quickly because it was thin.
Painting Garage Floors after Priming
We decided to paint our garage floor for several reasons. The floor was covered with stains. Painting the floor gave it a fresh new look. We choose grey paint. To protect the floor from stains, tire marks, spills etc., we used an epoxy based concrete floor paint. Immediately, the floor became easier to clean. It also became less slippery for wet shoes.
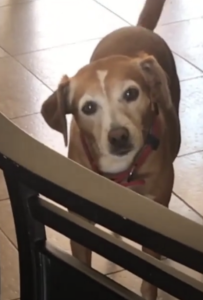 While we were painting we blocked the garage door so that our supervisor could watch us, but not get on the floor.
Because there are two sides to our garage, we painted both separately. The paint instructions recommended 48 hours before allowing foot traffic. As well, we found that we needed to wait 5 days before driving on the new paint.
Overall, painting our garage floor improved the look of our garage. The epoxy paint will protect the floor from all the stuff that is spilled on it. The garage will be much easier to clean.
Tools Needed
We did not need a lot of tools for this job. Initially, we swept the garage floor with a bush broom. We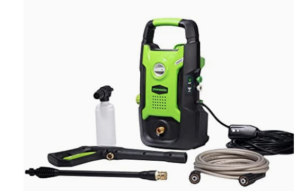 washed the floor sever times with a power washer, but a bucket and mop would work just as well. We were not ambitious enough to use a bucket and mop. If there are chunks of paint, tape or other foreign stuff on your floor, you will need a scraper to remove them. Otherwise, they will be painted onto the floor. Finally, we used several deep mat rollers and a long handle to apply both the primer and paint. That’s all the tools needed for this home improvement job.
If you are considering sprucing up a stained, dirty garage floor, be sure to clean it thoroughly. Follow the directions for the primer and paint provided on the cans. This life adventure doesn’t cost much and doesn’t take too much effort, but makes a dramatic difference in a garage.
Thanks for joining us on this senior adventure.

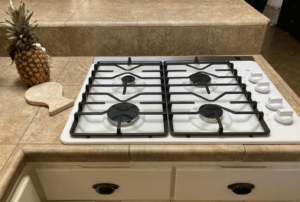
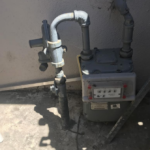
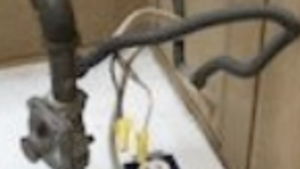 The new cook top had a 1/2 inch gas fitting. The old fitting was 1/4 inch. So, I went off to the hardware store. It just took a couple of minutes to change the fitting on the gas line.
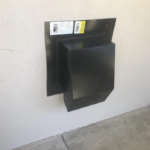
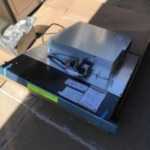
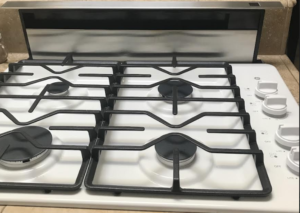 fan to fit into the counter. With some angling and some technical language, the downdraft fit. As it turns out, this one is far more powerful than our old one.

